the best mowers logo

How To Repair A Cut Lawn Mower Cable? Find Out Here!

Written by William
Last Updated on August 31, 2021

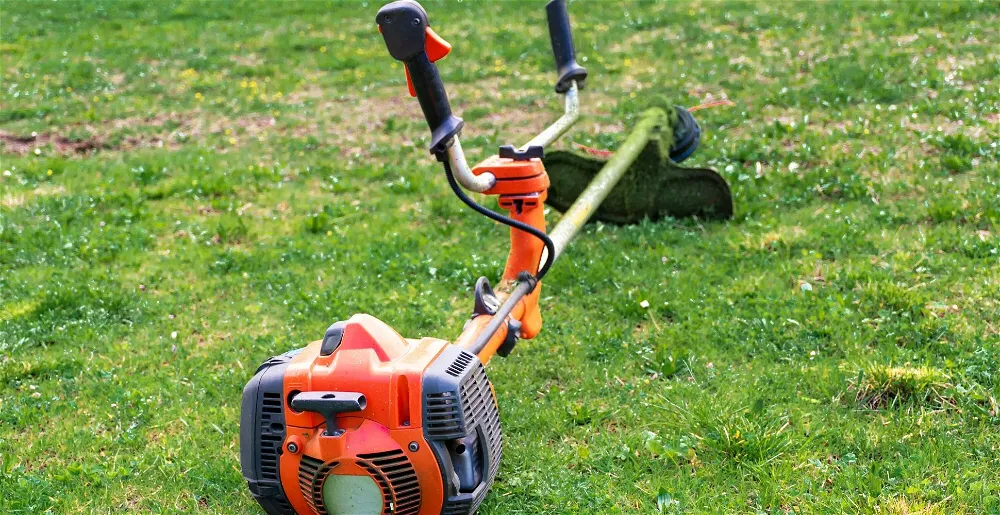
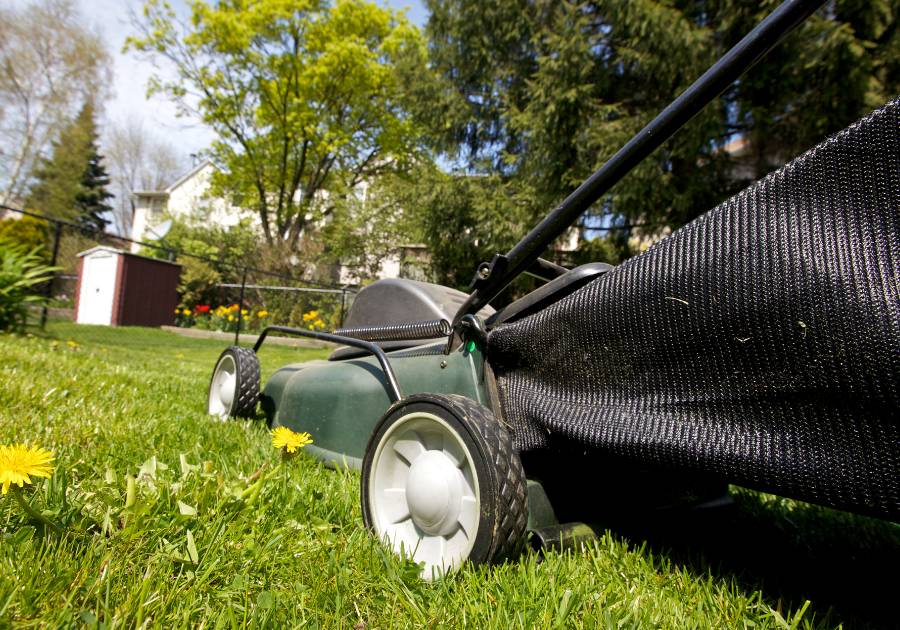
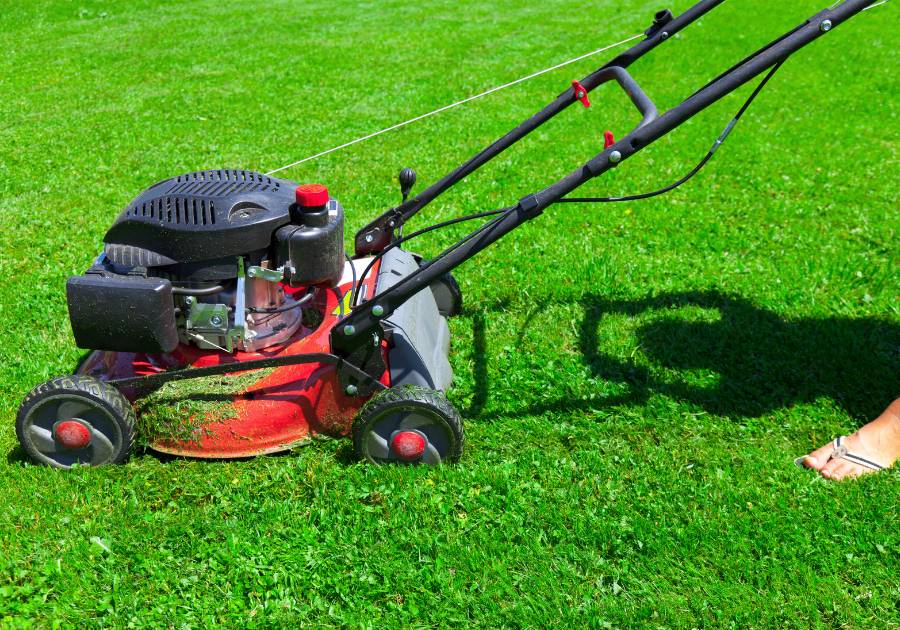
If you've wound up on this page, it's highly likely that you're indulging in some garden work this summer. Mowing the lawn is. both therapeutic and satisfying, but it's also a dangerous task if appropriate safety measures aren't in place.

If you've severed your lawnmower power cables- stop. Don't attempt to use it until you're confident that the safety/fix system you've implemented for your lawnmower cable is effective against water damage, tugging, and further damage to your electronics.

Soldering is a temporary, relatively easy, yet unreliable solution to fixing your power cord- so we've listed three different ways for you to repair your cut lawnmower power cord/broken power cable. 


1) Crimping: The Cheapest Way 

While this method of power cable repair/fixing your severed power cord isn't the most efficient or perfect, it gets the job done and costs far less than ordering a new cable, for example.

This technique involves the extension of a new section of your cable to the pull bar, using one of the many connector types out there, aluminium crimps. This sort of cable connector is commonly used in soldering and other wire fusion techniques. You can grab a couple of hundred of these for a fiver- making them a very cheap way to fix your problem. Replacement cords can cost up to £30, depending on your lawnmower...that £15 saved could be used for far better things!

Additionally, this method is quick and easy- no hassle involved in fiddling around with a power outlet/power source. 

How to Do It

You'll need a total of 4 items to perform this task:

  • Aluminium crimps
  • A section of the cable
  • Hammer
  • Pliers with an integrated wire cutter edge (the whetted part nearest to the plier handle)

Method

  1. Connect both the old and new wire segments; as below (we recommend doing this on the ground to avoid injuries and damage to yourself or surfaces)
  2. Align and insert both of your cables within the aluminium crimp (or any other correct sort of connector) simultaneously- seal by striking the flatter edge of the crimp with your hammer.
  3. You may remove the pull bar if needed.
  4. Add on another crimp (or any suitable connector) on your new, extended cable. Loop the remainder of the cable through the original gap where the S-shaped part went. Run through the other end of your new cable into the aluminium crimp to close it off. This attaches the extended cord to the pull bar. 
  5. Now that you've fixed it, you need to test it and ensure it's safe and working. As the severed ends of the crushed cables will be sharp, we recommend cutting them off. 

2) The Manual Method: Easiest Way

This method is perhaps the one many people opt for first. It involves shortening the wire slightly, and reconnecting it with a wire nut, then sealing it up with electrical tape.

If you follow any method (not just for fixing severed cords) that involves the use of electrical tape, make sure you don't cut corners. Duct-tape or super-tape will not work; it must be electrical tape. This is essentially a pressure-sensitive type of insulation tape (common tape for electricity problems) used to insulate wires and other conductive materials. They provide long-lasting insulation and are also stretchier than traditional tape- many are waterproof too, making them suitable for contact with wet grass. 

How to Do It

 You'll need the following items to undergo this method of repair:

  • Wire stripper
  • Electrical tape
  • Wire Nut

Method

  1. Clean up your wires in preparation- peel back any outer covering and expose a longer portion of wire with only the inner coating
  2.  Cut back on some of the wire with a wire stripper, exposing the metal wires inside- we recommend cutting back around 1/4 of an inch
  3. Twist the wires together, and bind with a wire nut
  4. Tape any remaining wires together with the wire nut with electrical tape- go over the area a couple of times and once at a slight distance from the site- to securely bind the system in place

This method is easy and pretty effective- the main issue is the ghastly lump in your cord that you'll be left with afterward!


3) Soldering: The Most Efficient Way

This technique is slightly more advanced but highly preferable to the other methods mentioned. Soldering typically involves the use of a soldering iron and solder. 

Soldering is a process where items are fused together by a melting method and the addition of filler metal into the joint. The filler metal would need a lower melting point than the metal used for adjoining. The way in which soldering is distinguished from welding, for example, is that it doesn't involve melting the actual workpieces. 

How to Do It

You'll need the following to do this method:

  • Soldering iron 
  • Solder
  • Heat-shrink tubing (plastic tubing which contracts and shrinks when exposed to heat)
  • Electrical tape (optional)

Method:

  1. Clean up any wire, and slide some heat-shrink tubing onto one end of the wire- space these far away from the wire ends to prevent premature shrinking
  2. Twist the opposite wire ends together, in a cross-hatch shape (X) to end up with a straight connection
  3. Heat up the exposed metal wires with your soldering iron, and apply some solder to the connection of wires- ensure that this fully fuses and strengthens your wires
  4. Wait for it to cool slightly, and then check to make sure the wires are strong- bend them a little bit and make sure they don't pull apart
  5. Quickly but carefully slide the heat-shrink tubing onto the heat site- if they haven't shrunk enough, it may be that the heat site isn't hot enough; in which case, grab a hairdryer and apply some hot air to shrink it down completely
  6. Cover up the broken cord remnants with some electrical tape or more heat-shrink tubing (with a larger final diameter)
About the author
Written by William
I have always had a passion for gardening and that with a background in selling lawn mowers for the past 10 years, I have become very knowledgeable in all types of gardening tools. The site TheBestMowers.co.uk was created as a hub where I can review and write about all of the tips around gardening.
View All Posts
You may also like
the best mowers logo
TheBestMowers.co.uk is a participant in the Amazon Services LLC Associates Program, an affiliate advertising program designed to provide a means for sites to earn advertising fees by advertising and linking to Amazon.co.uk & Amazon.com.
linkedin facebook pinterest youtube rss twitter instagram facebook-blank rss-blank linkedin-blank pinterest youtube twitter instagram