If you've just recently bought a lawnmower and are eagerly waiting for its postal arrival, or you're planning to purchase one- you'll likely want to know a bit about the assembly. After all, why opt for a cheaper mower if the assembly will just be a hassle?
Luckily, even if your mower isn't pre-assembled (this will only be the case if the company from which you bought your lawnmower has offered an assembly team with your purchase), the task is easy enough to do by yourself. It actually shouldn't take you more than an hour.
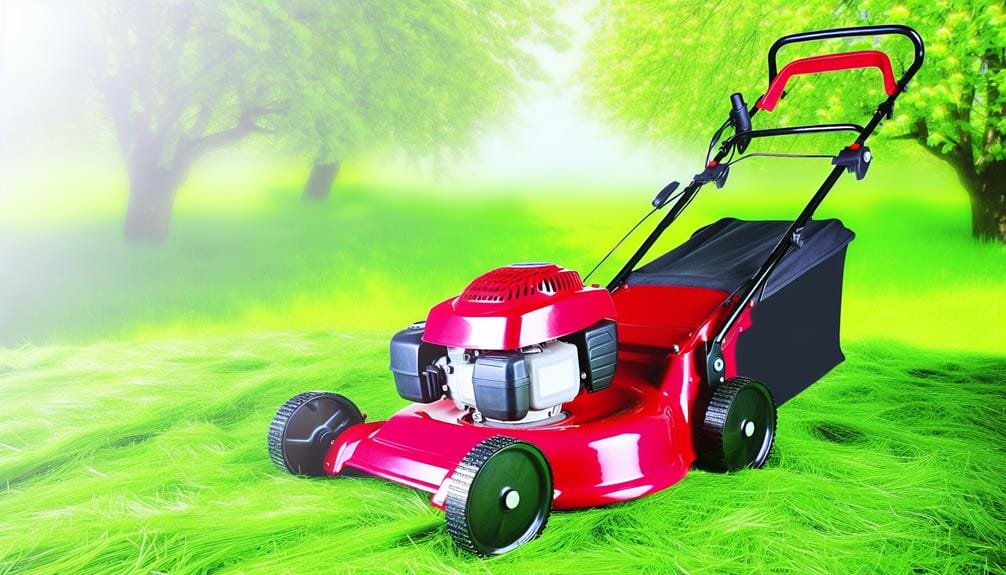
What do usually come pre-assembled in many store-bought push mower types, for example, are the mower parts, such as the wheels or collection facility.
We've designed this guide to concisely guide you through assembling your own lawnmower.
Firstly, you'll want to empty out the lawnmower factory box and all the included components. Identify what you have, and separate them so you don't mix any parts up. Laying them out in a neat, organised manner will ensure you don't shuffle around for missing parts when you're actually assembling them.
The frame will normally have the blade and the motor usually pre-attached, and in some mower packages, you may even find the rear wheels to have already been assembled for you. This will save you a lot of time, but the assembly of these is minor can will be instructed in the manual for your particular model.
Now, you'll want to assemble two key components: the wheels, and the handles. The manual included in your mower box should tell you which accessories and parts you'll need for both.
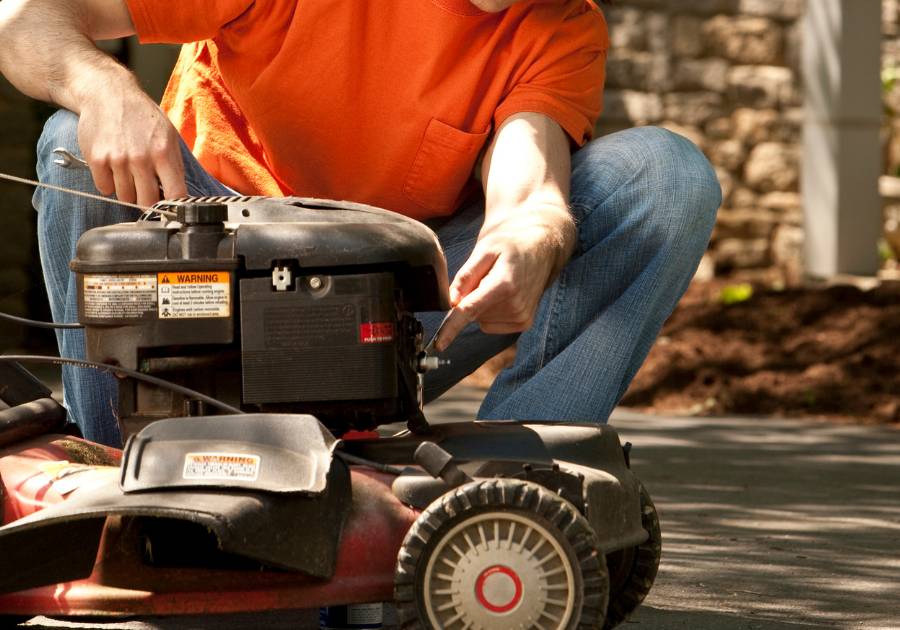
Since you've just bought this new lawnmower and are looking to assemble it for the first usage, it's worth remembering that it won't have any fluid inside it at the moment. Oil will need to be added to your mower before starting it up. Make sure you add the oil to your mower's oil capacity before actually starting it up.
In terms of which oil you need, we recommend going for a synthetic one. The manufacturer guide should actually tell you which oil your mower takes anyway, so look through it to help you provide your machine with the best 'nutrition' to enhance its lifespan. Using the incorrect oil could mean the efficiency of your product is reduced, and it will start consuming more than necessary. This will be both costly (having to purchase more fuel with increased regularity), and damaging to the engine/motor (hence costing you motor repair too).
If you're dealing with a push mower rather than a petrol or electric, for example, you'll need to load it up with gas- or it just won't start up. You'll need to both prime the motor and fill up the gas tank with a suitable gas. The primer button is usually any of the following three colours; red, black, ir yellow.
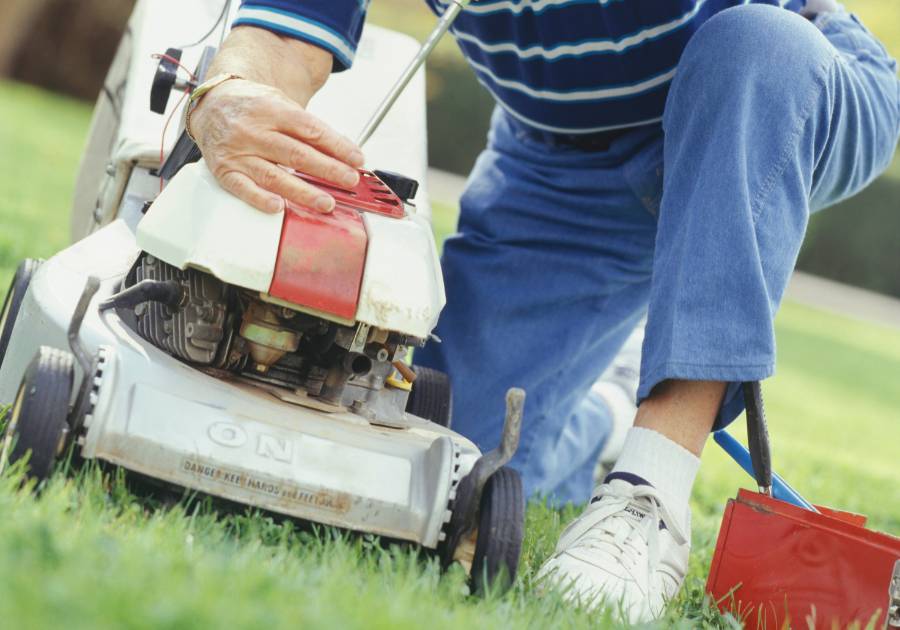
Now that you've done all the required preliminary steps, you just need to make some final adjustments to confirm it's safe and efficient to use.
You should aim to keep the frontal and rear wheels aligned, at an equal height- this will ensure your mower attains the most uniform cut out of your grass. Try and align all four wheels in harmony and equivalent to station your mower at the best height. We recommend only trimming down your grass growth by a third, so make sure you keep this in mind during this height-setting stage.
Now you just have to start it up. The best way to do this is by yanking the rope-pull mechanism whilst holding the mower's throttle down- after priming the motor with all the preliminary steps, of course. If it doesn't start up the first time, keep going until it does. Once it's started up, letting your mower's motor run for a short period of time, as this will help burn off and disintegrate any dirt or residue.
Your mower is now ready for use whenever you wish.