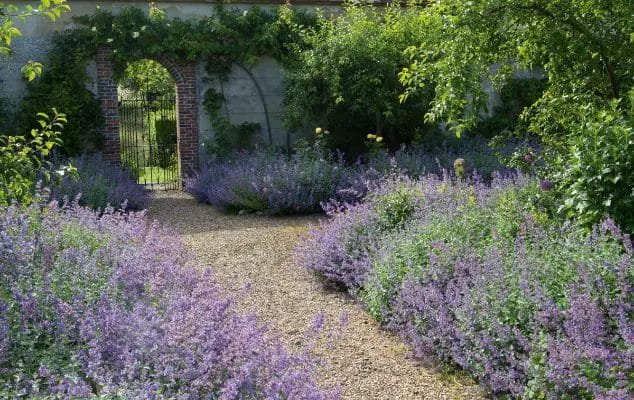
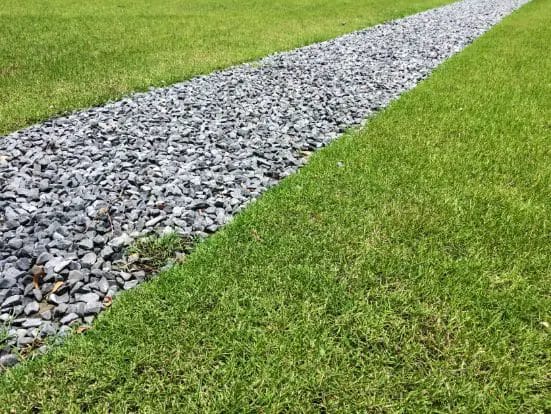
Perhaps there is not enough time to look after the garden lawn, or maybe the garden needs a complete make over. Whatever the reason, with its low maintenance and suitability for almost all types of garden, more and more homeowners are thinking of replacing their grass lawns with gravel.
If it's to completely replace the lawn, or to put in a gravel path, there are a number of steps to take to transition successfully from grass to gravel.
Laying gravel down is not just a case of putting gravel straight onto the lawn and the raking it over for a nice finish. It's surprising how common this belief is! The existing grass must be removed and the underlying ground prepared, otherwise that newly laid stretch of gravel will look unkempt and be an embarrassment in next to no time. Not to mention a whole new load of work to keep the underlying lawn at bay, or just to rectify the whole sorry situation.

To start, mow the lawn to the shortest height possible, making sure that as much mulch as possible is removed. This will make the task of actually removing the grass much easier. Once done, actual grass removal can be done. There are three options on how to do this, and it really is personal choice as to which one to choose: These options are:
Choose a weedkiller that is specifically made to kill grasses, and not leaved plants. Make sure that you follow the instructions carefully.
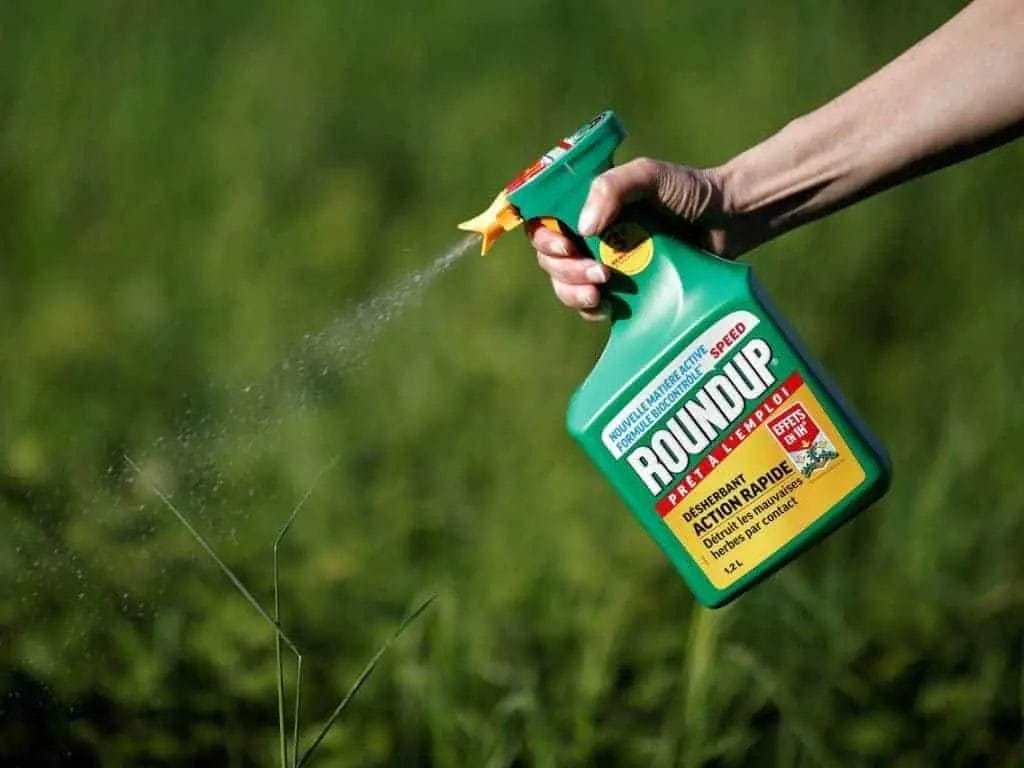
If the lawn is healthy or is well established, it may be necessary to apply weedkiller more than once, and remember that if there are any seeds in the soil, they will not be affected by the weedkiller.
A windy or rainy day will cause the weedkiller to be diluted or even blown onto other areas of the garden, or even onto the neighbour's lawn. So, a dry, balmy couple of days is best.
It will take a good couple of days for the lawn to die. So, if time is of the essence, this is not the best option.
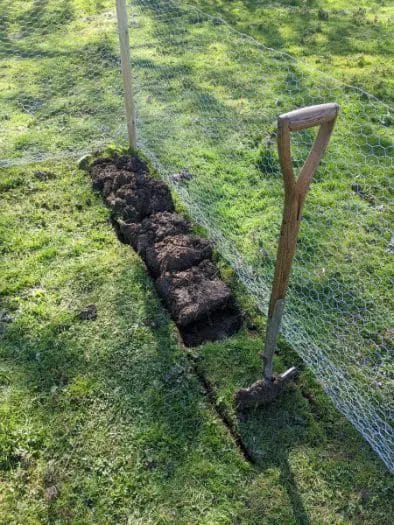
This is by far the quickest method, and involves the most physical work. A whole day is probably best to set aside, and depending on the size of the area to be dug up, some help from a friend or involving the whole family may be an idea. The best tools for this job are a spade and a garden fork.
This is perhaps the easiest and slowest process. With this technique, you will literally kill the grass by cutting out all needed sources for life. This process will take a couple of weeks to take effect. Using either a thick plastic membrane or perhaps an old carpet, cover the lawn area weighing it down with heavy objects and then leave the area alone for at least a fortnight.
A weed membrane although not essential is strongly recommended. A membrane goes between the ground and the gravel layer preventing any growth of weeds or grass.

Whether it be a footpath or an area of hardscape, it is important to choose a good quality weed membrane to ensure minimal maintenance over the years. Although a thicker membrane may be harder to cut to size, it will be more damage resistant and as such cheaper in the long run.
Before laying down the membrane, it may be an idea to spray the area with weedkiller and removing any debris, such as stones or twigs, this will minimize any rips or tears appearing.
When laying the membrane down overlap the joints by a generous 100mm or so, and keep it all in place placing stones at regular intervals along the seams. Once done, all that is needed is to trim excess membrane from the edges, then laying gravel can begin.
Always try to distribute the gravel evenly using a fork or rake. When all the gravel is laid, a simple cursory leveling is needed.
To Finish off, lightly water the gravelled area to wash away the dust that will inevitably accumulate, and will bring out the colour of the gravel itself.
Texture, colours, sizes, these are all important when choosing the right gravel for best results. Whether for a driveway or patio, there are different types of gravel to choose from.