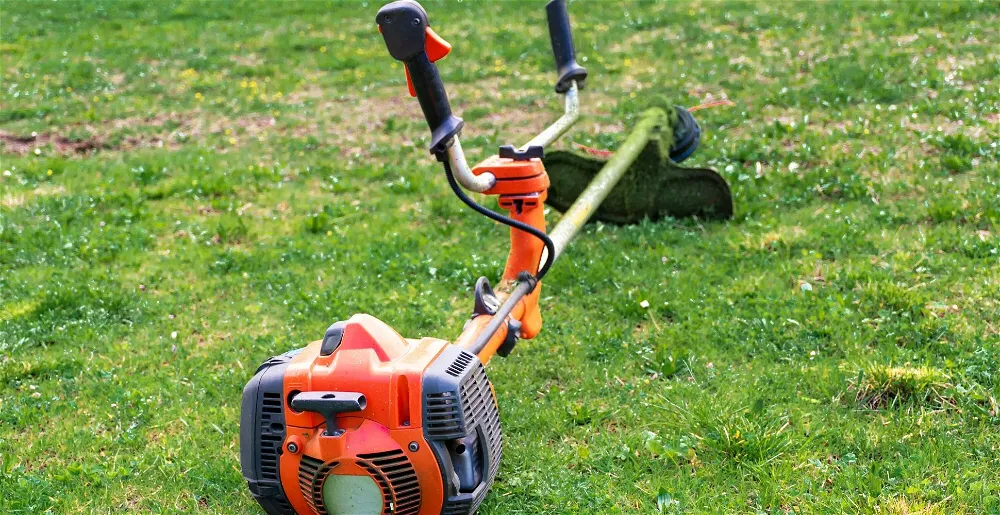
Are you here because you're having problems starting your lawn mower? Had a hard time pulling the cord, heard a weird sound, and now the cord is stuck and not going back?
Don't fret; we got you.
While taking your machine to a professional mechanic or repair shop is an excellent idea for any lawn mower issues, this one can be handled through a DIY. All you need are a few tools and several minutes.
First,
Before we get into it, we first need to confirm if you indeed need to repair or replace your recoil spring. It'd be devastating to go through the whole process for nothing.
To test if the recoil spring is working properly, you need to pull it back and forth with the cord. If it doesn't move back and forth, then the spring is damaged.
Cleaning and oiling the recoil mechanism may help solve the problem.
If it doesn't work, you can follow the following steps to fix the recoil mechanism.
First, remove the recoil housing cap. Then untie the rope. Next, replace parts if needed. Finally, re-tension the spring. After you do this, attach the cap again. Then coil the cord.
Use safety equipment such as gloves, apron, and protective eyewear. When working with springs, always protect your eye as they can suddenly unwind and hit your eyes. You can avoid this by keeping your thumb above the spring while pulling it out.
Be careful of the spring's sharp edges.
Be careful when flipping the parts. Make sure you don't drop them while doing so.
Also, watch any moving parts and handle them carefully.
And, finally, make sure that you don't touch hot parts. Let the engine cool completely.
The starter must be removed before you start. You need to loosen the bolts holding the recoil housing cap. Then, remove the bolts holding the recoil assembly. Finally, lift off the recoil housing cover to gain access to the recoil assembly.
To remove the rope, we first need to find the end. Then we should use a screwdriver to pry it loose. Next, we should grab it with a pair of pliers. Once we've got the end, we should secure it to the pulleys using a screwdriver. Finally, we should cut the knot and pull the rest of the rope away from the pulley to free it.
You must pull the rope out slowly and carefully. As you pull the rope out, you are put tension on the pulley. That may cause the pulley to slip. If it does, it could potentially cause an injury.
If you're having problems handling the spring due to its tension, use some vise grips.
Housing, springs, and pulleys are essential parts of any machine. You should replace them when they break down.
You may think the parts are hard to find, but if you search the user manual, you'll most probably find the part numbers online. If you know the part numbers, you'll be able to find many replacements, even online.
By this time, your screwdriver should still be securing the pulleys. Now, we have to remove that. Be careful and avoid recoiling.
Then, turn it a couple of times, usually around six times, to re-tension the spring or until it is at the end.
After that, let go of the pulleys carefully. The pulley's hole for the rope should line up with the starter housing opening. Once they are, hold it in place by inserting a screwdriver in the hole.
Secure the assembly by reattaching the pulley cap. The pulley might still spin, so don't let go of the pulley.
The new cord should be fed through the recoil rope hole in the pulley, then tied and tucked into the little pocket in the pulley.
Then, you should pull out the previously inserted screwdriver. Do this while holding the pole with your finger.
After that, let some of the rope recoil back. Leave around 18 inches.
Reinsert the screwdriver in again to hold it in place, then tie a temporary knot in the line. Remove the screwdriver.
Remove any rope that may still be in the starter handle, insert the new cord through it, and secure with an overhand knot.
Pull the knot into the opening on the top of the handle.
Remove the temporary knot, thread the line back up through an eyelet on the handle, and control the rope speed as the rope winds back into place. To do this, apply pressure on the spring using your thumbs while rotating it in place.
Pull the cord a few times to make sure the pulley is working properly. If the engine doesn't start, check if the pull cord is too loosely wound. If so, repeat the previous step and tighten the cord before trying again.
If the engine starts, put the housing cap back, re-assemble it and tighten all the screws. Grease the recoil spring before you replace the housing cap with plastic-safe grease.
Done!
A recoil spring can fail due to many reasons. The spring slides out of its place, losing tension. The starter pulley wears out, and the spring doesn't sit in the housing correctly.
Just squeeze the spring with your hands and loop it around carefully, making sure it is tight enough. It will be harder to handle it once it's tighter, so use some needle-nose pliers to help you.
Another way is to grab the recoil spring, insert into the groove, and then walk it around the inside of the recoil housing by circling. This method is a little tricky because it wants to pop out but gets easier as you get it going.
You can melt a hole in the upper part of the housing. Put the rope in there and tighten up the spring.
You need to hold the spring with your fingers while pulling on the loose end of it. This method works because the spring is compressed when it is pulled tight. Pulling on the loose end of the spring causes it to become shorter and tighter and thus easier to wind up.
Recoil spring is a key component of lawn mowers. If a recoil spring doesn't work properly, starting your lawn mower becomes difficult and may even be impossible.
Fortunately, a broken recoil spring can be easily fixed and replaced just by using a screwdriver and in only several minutes of time.
Now, you can even do it yourself and save some bucks!